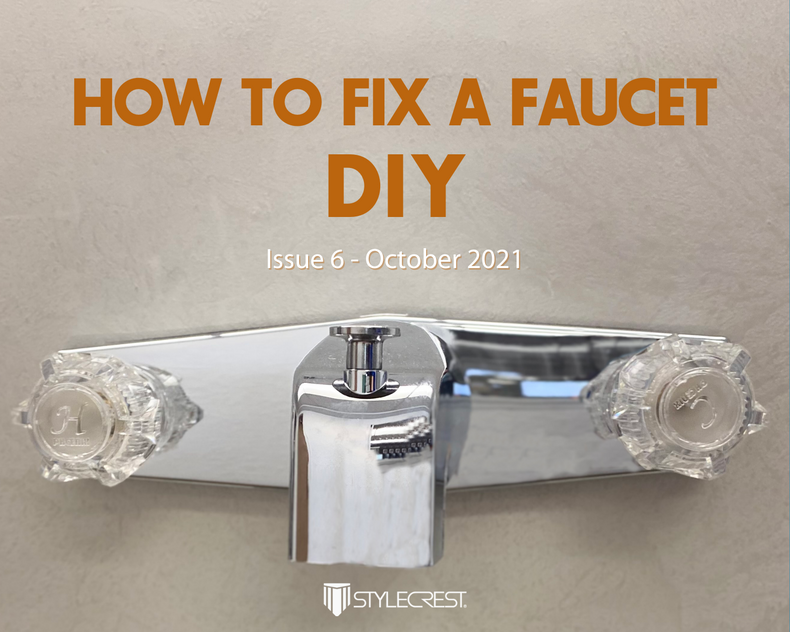
Hello and welcome back to another issue of our newsletter, where we cover relevant information about manufactured homes: facts, tips, specials, and more! This month we bring you a series of DIY tutorials to fix that faucet part that you have been putting off repairing. With these steps, you don't need to call a professional!
NOTE: If videos are not displayed, please refresh the page.
WARNING: Before doing these procedures, you need to TURN OFF the main WATER VALVE. If you skip this step, you will get very wet!
Tools needed: Phillips screwdriver, Allen wrench (L shape wrench), and a ratchet with a socket.
Remove complete faucet
- Turn off the main water valve for the home
- Disconnect both pipes and remove locknuts
- Replace faucet
- Reinstall locknuts to secure faucet and connect both pipes
- Turn on the main water valve

Replace faucet handles
- Take off the handle cap
- Using a Philips/straight screwdriver take off the screw
- The handle should come off easily
- Replace it
- Screw the handle back in and put the cap on

Replace the center stem
You will need a wrench or ratchet with a socket.
You can identify the part number on the side of the stem. Otherwise, you can look it up on our website. If you are not sure what part you need, call us or email us and we will be more than happy to help you.
- Turn off the main water valve in the home
- Remove handle as described above
- Take off the escutcheon
- Using the Crescent Wrench take off the brass nut
- Carefully remove the center stem (you can use the handle to help you remove it)
- Replace the center stem
- Put everything pack together
- Turn on the main water valve
- Check for leaks

Replace seat/rubber gasket
If you have a dripping faucet, there are two possible problems: the rubber gasket on the stem might be worn or cut, or the seat of the faucet might be chipped.
- Using a screwdriver take off the handle (described above)
- Remove the O-ring and locking nut (Only for the Phoenix brand)
- Remove the stem and bonnet to reveal the seat
- Replace rubber gasket or the whole stem
- Remove the seat (if chipped) with the Allen wrench (L shaped wrench)
- Put everything back together
- Turn main water valve on
- Check for leaks

Thank you for reading this newsletter. Please let us know what other topics you would like s to feature on the newsletter. We will see you next month with more information about mobile homes. Happy and safe Halloween!
Find more plumbing parts here.
Español
¡Hola! Bienvenidos a otra edición del boletín informativo, donde cubrimos información relevante sobre casas móviles: hechos, consejos, ofertas y !más! Este mes, traemos los pasos a seguir para cambiar las llaves de tu traila que no has arreglado por falta de tiempo o porque no sabes cómo hacerlo. Con estos pasos no hay necesidad de llamar a un profecional.
NOTA: Si los videos no se cargan, por favor actualize la página.
PRECAUCIÓN: Antes de hacer estos procedimientos, asegurarte de CERRAR la válvula principal de AGUA. Si no se realiza este paso, quedarás empapado.
Herramientas: Llave inglesa, llave Allen, desatornillador Phillips y llave de casquillo y trinquete.
Cambiar juego de llaves
- Cerrar la válvula principal de agua
- Desaconectar ambas pipas y remover los tornillos de seguridad
- Remplazar juego de llaves
- Reconectar los tornillos de seguridad y ambas pipas al juego de llaves
- Abrir válvula principal de agua

Cambiar manijas del juego de llaves
- Quitar tapa de la manija
- Usando el desatornillador phillips quitar los tornillos
- Remover las perillas. (Debe salir facilmente)
- Remplazar la maniija
- Vuelve a atornillar la manija a la llave
- Poner la tapa en la manija

Reemplaza el tallo central
Necesitas la llave de casquillo y trinquete.
Puedes identificar el numero de la parte en el lado del tallo central. De lo contrario, puedes buscarlo en nuestro sitio web. Si no estas seguro de que parte necesitas, llámanos o mándanos un correo y te ayudarémos con gusto.
- Cierrar la válvula principal de agua
- Remuever las manijas como esta descrito arriba
- Quitar la cubierta o escudete de la manija
- Usando la llave inglesa, remover el tornillo de cobre
- Cuidadosamente remueve el tallo central (Puedes usar el casquillo para ayudarte a quitarlo)
- Reemplaza el tallo central
- Connecta las piezas de nuevo
- Abre la válvula principal de agua
- Revisa si hay fugas

Reemplaza el asiento de grifo
Si tienes una gotera en tu llave, hay dos problemas posibles: el empaque en el tallo central puede estar roto o el asiento de grifo puede tener una fisura por donde el agua se esta filtrando.
- Usando el desatornillador quitar la manija (Descrito arriba)
- Remuever el anillo de plastico y la tuerca de bloqueo
- Remuever el tallo para revelar el asiento de de grifo
- Reemplaza el empaque (si esta roto) o el asiento de grifo usando la llave Allen (Forma en L)
- Poner todo en su lugar
- Prender válvula principal de agua
- Revisar si hay fugas

Gracias por leer nuestro boletín informtivo. Comentenos que otros temas les interesaría ver en nuestro boletín. Nos vemos en Noviembre con más infomacion sobre casas móviles. Que tengan un buen Halloween.

